Hey All!!
We’ve got our design ready and built in Vivado. The next step is to export this hardware design to the SDK and create a first stage boot loader that will will combine with the .bit file and uboot to create get the board to boot into the uboot shell.
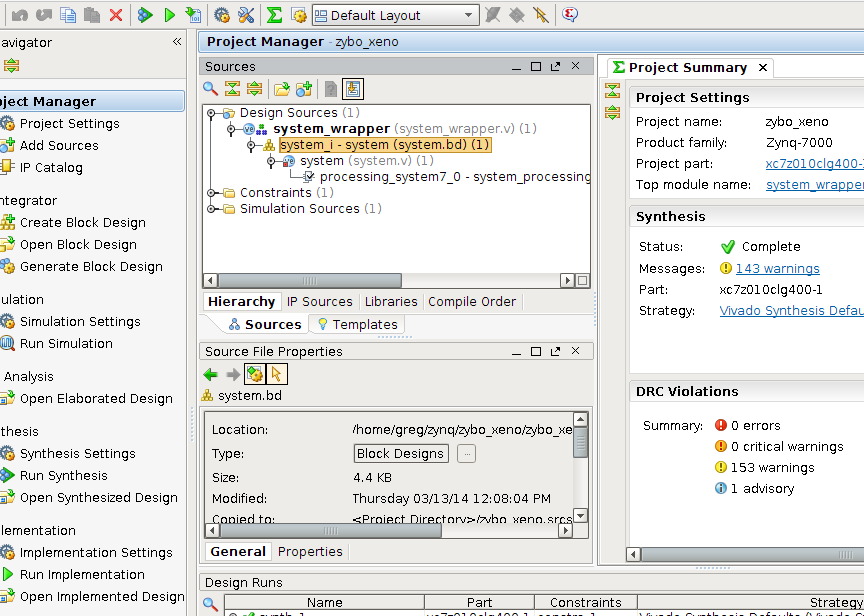
Verify that you were able to create the bit file without problems, so generate it again and look at the output of Vivado. Once that was been successfully generated let’s export the design to the SDK.
Right click your system.bd in your design sources and select ‘export hardware for SDK’, select a folder where we can export the design to and a workspace. Make sure to check to box that asks if you would like to launch the SDK. Also make sure to include the bit file checkbox, in my picture it’s not selected but it should be by default if you generate the bit stream before you export your hardware.
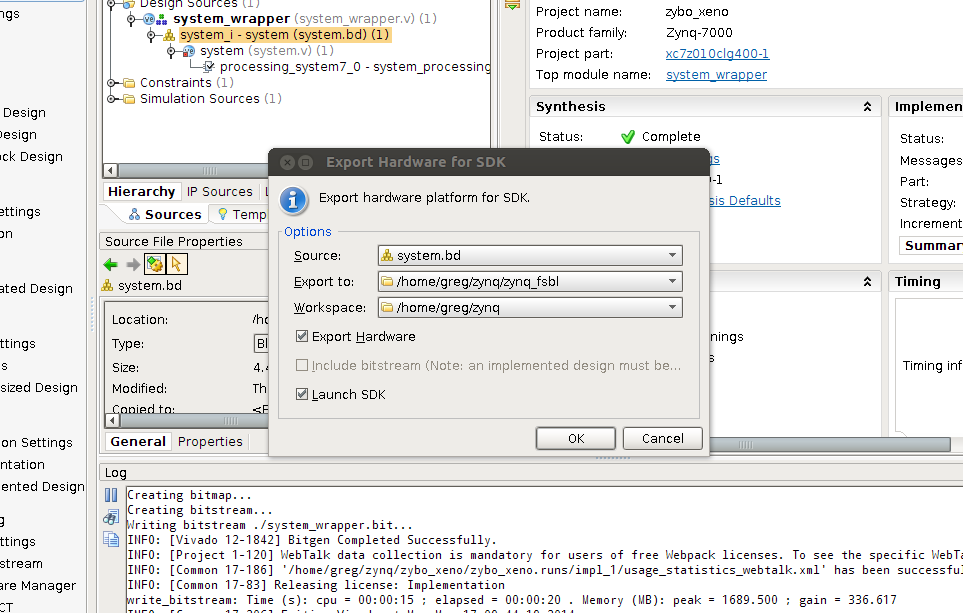
Make sure you have the block diagram open or there will be an error when the SDK launches. When this error message occurs we see some prints in the console out : ‘”export_hardware” works only for active block diagrams’, so make sure your block diagram is active before we export it to the SDK.

Once the export is complete we should see the SDK open with an XML file that describes our system.

Next let’s create the first stage bootloader we will need to boot our board. Select File -> New ->Application Project and enter a project name for our boot loader, I used zybo_fsbl. The hardware platform should be filled in with the information that was exported from Vivado and make sure that under Board Support Package we have ‘Create New’ selected. Click Next and we should see some templates to choose from. Select Zynq FSBL as the template project and hit ‘Finish’.

Once we clock finish the our first stage bootloader project and bsp should compile and be ready to go. From here we could do some bare metal examples of a simple C program running on Zybo, I will probably come back to this later but for now let’s get U-boot compiled and ready to go.
Step 3 – building U-boot and creating a boot image is next and should be ready to post in a couple days. Any questions please leave a comment or email me. If you have questions about building Linux or booting the board feel free to ask them and I’ll answer them as soon as I can. Those steps I’m hoping will be up next week.
Helpful Links:

Hi Greg,
Very nice work.
Thanks a lot
Saber
Hi,
I have a question : do you need to create the Bootloader to install Xenomai ?
Thanks
For Xenomai we will need to install uboot bootloader. I’m really hoping to get to the Xenomai building step soon. I ran in to multiple problems building Xenomai for Zynq so I want to make sure the blog post answers all the problems I ran into. I should have some time this comming weekend to finish it up.
Dear Greeg,
For some reason I cannot post immediete reply in comments. It looks like some kind of filter. I managed to boot kernel but only to the certain point.
https://www.dropbox.com/s/b0d6hy6iv2ejjo0/boot-zynq2.txt
Do you have any ideas why it gets stucked ?
Thanks,
Mateusz
Hi Mateusz,
It’s not clear to me why it gets stuck based on the debug output. Have you tried using the device tree for the zedboard to start then build a custom one for zybo?
Hi Greg,
When step 3 will be posted ?
Thanks
Hi Greg,
kindly update step 3
Thanks
will do